
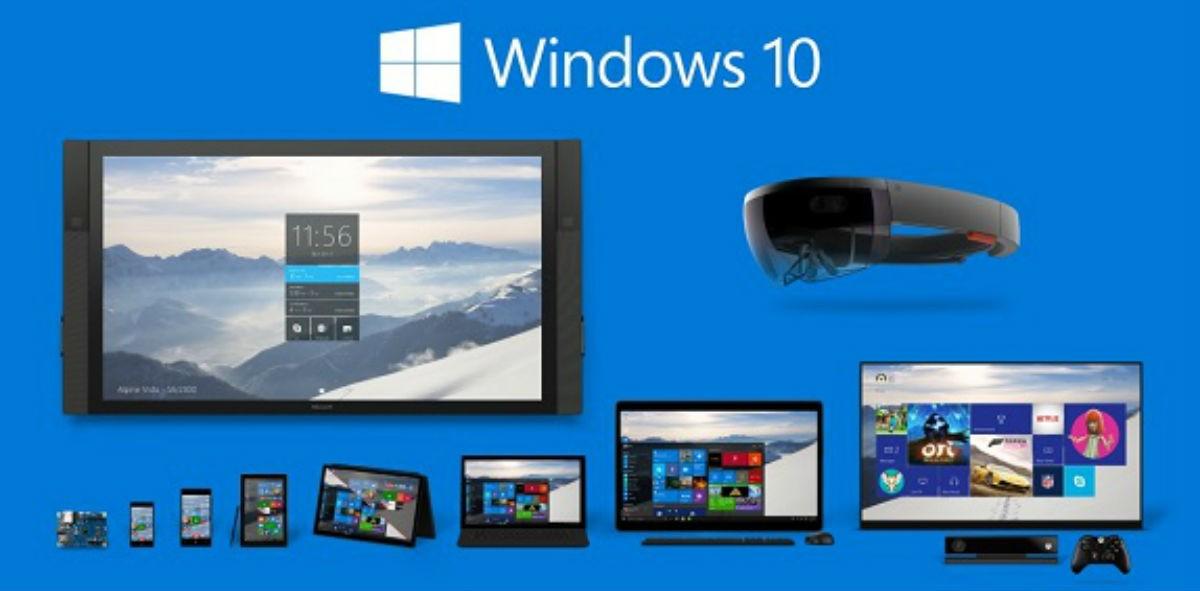
One of the really nice features of the latest version of BlackBerry Enterprise Server 12 (BES12.3) is support for activating and managing Windows 10.

With Microsoft no longer differentiating between Windows Phone and Windows PC, this means that Windows ActiveSync support can now manage a phone, tablet or standard PC using Windows 10 with BES.
The process for activating a Windows 10 device is extremely straight forward.
Send the following activation instructions to the device user.
- To activate your Windows 10 tablet or computer on BES12, you must install a certificate. You can find a link to the certificate in the activation email you received. If you did not receive a link to the certificate, contact your administrator for assistance. Using the Microsoft Outlook app, or using your online email service in the browser, open your Inbox.
- In your Inbox, tap the activation email message that you received from your administrator.
- Tap the certificate server address link.
- In the certificate download notification, tap Open.
- Tap Install Certificate.
- Select the Current User option. Tap Next.
- Select the Place all certificates in the following store option. Tap Browse.
- Select Trusted Root Certification Authorities. Tap OK.
- Tap Next.
- Tap Finish.
- Tap Yes.
- Tap OK.
- Tap the Start button.
- Tap Settings.
- Tap Accounts.
- Tap Work access.
- Tap Connect.
- In the Email address field, type your email address. Tap Continue.
- If you are asked for your server address, in the Server field, type your server address or activation URL and tap Continue. You can find your server address or activation URL in the activation email that you received from your administrator or in BES12 Self-Service when you set your activation password.
- In the Activation password field, type your activation password and tap Continue. You can find your activation password in the activation email that you received from your administrator, or you can set your own activation password in BES12 Self-Service.
- Tap Done.
- The activation process is complete.
https://www.youtube.com/watch?v=Alf3ZtFwLm0
To verify that the activation process completed successfully, perform one of the following actions:
- On the device, open the Work access app and check that your account is listed. Tap your account and select Info. Check the sync status information to make sure your device is connected to BES12.
- In BES12 Self-Service, verify that your device is listed as an activated device. It can take up to two minutes for the status to update after you activate the device.
When activated, you can expect the following, on your phone, tablet or PC:
- Control your devices with various IT policies and actions
- Configure Wi-Fi profiles
- Proxy Server and PAC support
- Windows Notification Service for device management
- Geo-Location (find phone) support for your devices
- Configure 3rd party VPNs
- SCEP enrollment
- And of course, email/PIM ActiveSync support