
Deploying the BlackBerry Hub+ for Business solution on non-BlackBerry Android devices.

Step 1 – Purchase and obtain the BlackBerry Hub+ Licensing application
Eligible customers can contact their BlackBerry Account Manager or Regional Sales Partner for help with purchasing and obtaining the BlackBerry Hub+ Licensing application. If a customer does not have an assigned BlackBerry Account Manager, they can fill out and submit a Contact Sales form (select Other for the product).
The BlackBerry Sales team will facilitate the creation of a secure cloud-based share for customers to access, where their custom BlackBerry Hub+ Licensing app can be downloaded, along with instructions for deploying it. The BlackBerry Hub+ Licensing application is required only for deployment of the Hub+ apps on non-BlackBerry devices.
The following apps must be assigned in the Android for Work profile and pushed to users for this solution to function successfully:
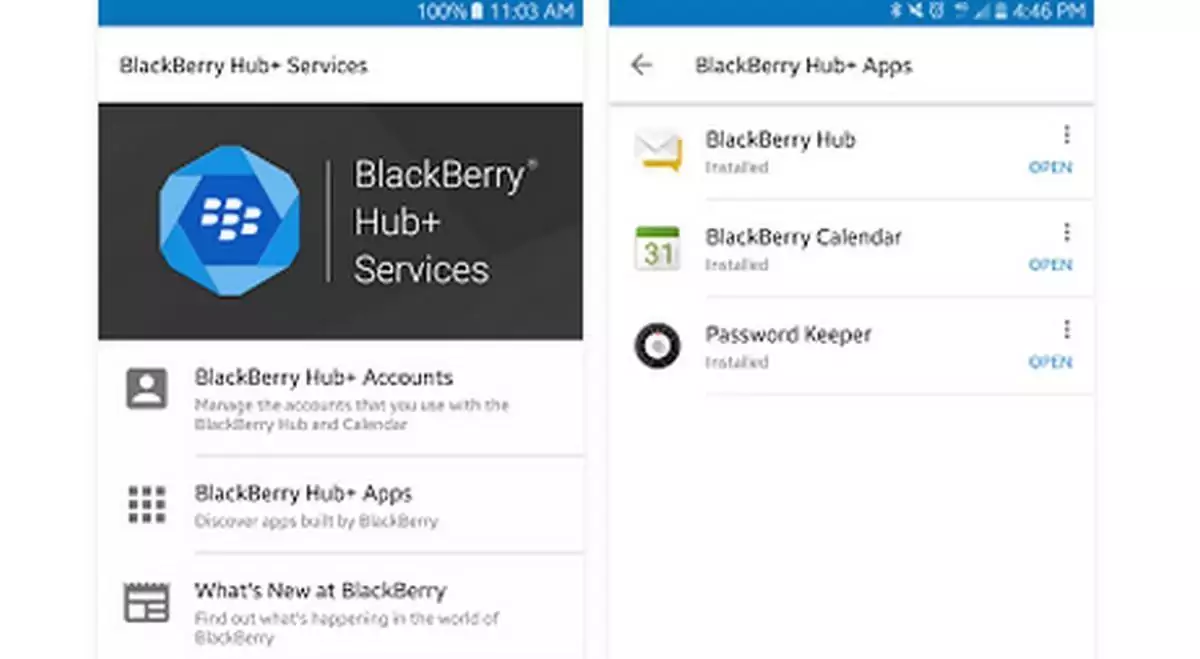
- BlackBerry Hub+ Services (Manages underlying BlackBerry applications)
- BlackBerry Hub+ Licensing (Manages licensing for the BlackBerry applications)
The following apps should also be assigned (if they are not assigned, end users will not be able to install them on their Android devices with a work profile):
- BlackBerry Hub (email and messaging client)
- BlackBerry Calendar
- Contacts by BlackBerry
- Tasks by BlackBerry
- Notes by BlackBerry
- BlackBerry Password Keeper
- BlackBerry Device Search
- BlackBerry Launcher
Step 2 – Assigning the BlackBerry Hub+ apps
- On the menu bar, click Apps.
- Click the grid icon.
- Click Google Play.
- Click Open Google Play to open the Google Play store.
- In the App URL from Google Play field, type or paste the web address of the BlackBerry Hub+ Services app in Google Play.
- Click Search.
- In the search results, click Add to add an app.
- Select the Accept checkbox to accept app permissions on behalf of users. You must accept the app permissions on behalf of users so that required apps can be automatically installed on Android devices using a work profile. If you do not accept the app permissions on behalf of users, the app cannot be managed in BlackBerry UEM.
- Click Next.
- In the App description field, type a description for the app.
- To add screen shots of the app, click Add and browse to the screen shots. The supported image types are .jpg, .jpeg, .png, or .gif.
- In the Send to drop-down list, perform one of the following actions:
- If you want the app to be sent to all Android devices, select All Android devices.
- If you want the app to be used on Android devices that use Samsung KNOX Workspace, BlackBerry recommends that users perform a manual setup of the BlackBerry Hub apps from the KNOX container, using BlackBerry Hub+ Services. Attempting to push an email profile to BlackBerry Hub in this configuration will result in incomplete information being present in BlackBerry calendar and some other apps. Future versions of the UEM will support email config of BlackBerry Hub+ apps via an app configuration.
- If you want the app to be sent only to Android for Work devices, select Android for Work devices.
- If you want to create an app configuration, complete the following steps:
- Click the + icon to add an app configuration.
- Type a name for the app configuration and specify the configuration settings to use.
- Click Save.
- If necessary, use the arrows to move the profiles up or down the ranking. When an app is assigned more than once with different app configurations, the app configuration with the higher rank applies.
- Follow this help article for assistance in filling out of the BlackBerry Hub+ Services app configurations
- To filter apps in the app list by category and to organize the apps into categories in the work apps list on users’ devices, you can select a category for the app.
Repeat step 1-12 and 14 to assign the following apps (step 13 is specific only to the BlackBerry Hub+ Services application):
- BlackBerry Hub
- BlackBerry Calendar
- Contacts by BlackBerry
- Tasks by BlackBerry
- Notes by BlackBerry
- BlackBerry Password Keeper
- BlackBerry Device Search
- BlackBerry Launcher
Step 3 – Submitting, publishing and assigning the BlackBerry Hub+ Licensing app
BlackBerry Hub+ Licensing application is a unique application built for each customer, i.e. each application has a unique package ID/name in the format of com.blackberry.infrastructure.leape.<customer name>. This ensures that licensing is done per customer and ensures that Google Play private application posting rules are satisfied.
Google Play Authorization:
Due to the use of BlackBerry trademark, logo and graphics, customer must obtain Google permission before submitting the licensing application to their corporate Google Play store. BlackBerry provides the authorization letter and the package ID in the secure cloud-based share at the time of the purchase.
- Go to the Provide advance notice to the Google Play App Review team page.
- Fill in your name.
- Fill in the email address tied to your Google Developer account.
- Fill in the application package name provided to you by Blackberry in the secure cloud-based share folder.
- Select Intellectual Property proof of permission as the advance notice scenario.
- Attach the BlackBerry authorization letter provided to you by BlackBerry in the secure cloud-based share folder.
- For the additional information provide the statement that this application will be a private application posted only on the corporate Google Play store.
- Click Submit.
After submitting the advance notice, Google will email you acknowledging the receipt. If Google has not provided approval to proceed with application submission within the time frame specified in the email, contact enterprise_fulfillment@blackberry.com for further assistance.
Google Play Submission:
- Log into BlackBerry UEM as an Administrator (that has the ability to manage apps).
- On the menu bar, click Apps.
- Click the gtid icon.
- Click Internal apps.
- Click Browse. Navigate to the BlackBerry Hub+ Licensing app that you want to add.
- Click Open.
- Fill out the required information. Ensure that the box to Enable the app for Android for Work is checked.
- The Vendor, App Description and Screenshots are optional but you can optionally fill these fields in, if you want your users to have this additional information in their App Catalog that is provided by BlackBerry UEM.
- Click Add.
On the BlackBerry Hub+ Subscription app’s configuration screen, additional steps must be completed. In the Apps to be hosted by drop-down menu, select Google Play. This must be set this way due to a Google stipulation that only apps hosted by Google Play can be made to be required apps for Android for Work.
Publishing the BlackBerry Hub+ Subscription app in Google Play
If you are creating a Developer account for the first time, please be aware that:
- Google charges a fee for registering a Google Developer account. Please consult google’s website for information regarding this fee.
- BlackBerry suggests that your Google Developer account name explicitly state your company name. The applications published by this account are meant for internal corporate use.
- E.g. ABC Corp. Internal Apps
- When naming your Google Developer account please do not include any reference to trademark names besides your own company name, as it may get flagged as being in violation of the Google Impersonation Policy.
- E.g. ABC Corp. Googleadmin is an example of unacceptable account name due to usage of “Google”
- Sign in to the Google Developer Console.
- Click Add new application.
- Select the default language.
- Enter a Title for the app.
- Click Upload APK.
- If applicable, click Upload your first APK to Production.
- Navigate to and upload the BlackBerry Hub+ Subscription APK file.
- Enter all of the necessary Store Listing and Content Rating information. For its content rating, BlackBerry recommends adding the BlackBerry Hub+ Subscription app under Utility, Productivity, Communication or Other. Each of the questions that are subsequently asked can be answered with No.
- When all of the questions have been answered with No, click Save questionnaire.
- Click Calculate rating. When Google confirms that the content rating is fine, click Apply rating.
- On the Pricing & Distribution tab, set the following values:
- Set the BlackBerry Hub+ Subscription app’s price to Free.
- Under Countries, select all countries that you have users that will be using the BlackBerry Hub+ Subscription app.
- Under Contains Ads, select No, it has no ads.
- In Restrict Distribution, select Only make this application available to my organization. If you do not complete this step, your BlackBerry Hub+ Subscription app will be deployed for anyone, worldwide, and would cause financial liability to your organization.
- Select all options under Consent (put a checkmark in the boxes beside Marketing opt-out, Content guidelines and U.S. export laws).
- Click Save draft.
- Click Ready to Publish. A dialog box will appear that says that ‘Your app is ready to be published’.
- Click Manage Releases.
- Beside the You have a draft release to production in progress alert, click Resume.
- Click Review.
- Click Start rollout to production. Click Confirm.
It might take several hours for the app to be published. Administrators can click the Check Status button periodically, to determine if the license key has been generated.
Assigning the BlackBerry Hub+ apps to users
BlackBerry recommends assigning the apps via user groups, rather than to individual users. When you assign apps to a user group, the apps are made available to any applicable devices that the members of the user group have activated. You can also assign apps to user groups for device types that the members of the user group have not activated yet. This makes sure that if any member of the group activates a different device type in the future, the proper apps are made available to new devices. Here are some additional points to consider:
- If a user account is a member of multiple user groups that have the same apps or app groups assigned to them, only one instance of the app or app group appears in the list of assigned apps for that user account.
- The same app can be assigned directly to the user account, or inherited from user groups or device groups.
- The settings for the app (for example, whether the app is required) are assigned based on priority. Device groups have the highest priority, then user accounts, then user groups.
Tip: Before you begin, add the app to the available app list. Optionally, you can add the apps to an app group.
Here are the instructions for assigning the app to a user group:
- On the menu bar, click Groups.
- On the User groups tab, click the name of a group.
- On the Managed devices tab, in the Assigned apps section, click the + icon.
- In the search field, type the app name, vendor, or URL of the app that you want to add.
- Select the check box beside the apps or app group that you want to assign to the user group.
- Click Next.
- In the Disposition drop-down list for the app, select Required to require users to install the app.
Note: If the same app is assigned to a user account, a user group that the user belongs to, and the device group the device belongs to, the disposition of the app assigned in the device group takes precedence.
- If there is an available app configuration, select the app configuration to assign to the app.
- Click Assign.